Your cart is empty

A suit is a matching set of clothing, primarily consisting of a jacket and trousers.
Men's suits have a long history. According to Britannica , the emergence of the " modern suit began in the 1660s at the court of Louis XIV of France and Charles II of England ."
By the 1860s, the suit had reached its modern form, and it changed little over the next two centuries. During the twentieth century, women began wearing suits paired with skirts, and later, trousers.
Would you like to draw a cartoon of a man wearing a suit ? This easy, step-by-step drawing tutorial is here to show you how . All you'll need is a pencil, an eraser, and a sheet of paper. You can also color your finished drawing.
Step 1: The face

Start by drawing the man's face.
Trace the outline of each eye with two curved lines.
Shade a circle inside each eye to form the pupil.
Next, use curved lines to draw the eyebrows, nose, mouth, and chin dimple.
Step 2: The Head

Use curved lines to draw the man's face.
Note the curve of the hair.
Use a "C" shaped line to draw the ear, and detail the inside of the ear with another "C" shaped line.
Step 3: Hair and collar

Use curved lines to outline the top of the head.
Extend a pair of curved lines to form the neck, and connect them using a series of curved lines.
Next, draw a "V" shaped line around the neck to form the opening of the costume.
Step 4: The Suit Blazer

Use straight lines to draw a triangle on each side of the opening, and a pentagon above each triangle.
These are the lapels of the suit. Draw a curved line under the "V" to form the front of the suit.
Step 5: The right sleeve

Draw a curved line from the back and downwards to draw the arm.
Draw another long curved line, starting between the arm and the lapel and ending at the bottom of the suit.
Draw a short curved line and double it over itself to form the pocket, erasing if necessary.
Draw a short line between the end of the arm and the torso to finish the sleeve.
Step 6: The left sleeve

Trace the outline of the remaining arm using two curved lines, joined at the bottom.
Draw curved lines to indicate the shoulder seam and the elbow crease.
Use a curved line to draw the side of the torso and to outline the shirt sleeve, hand, and pocket at the bottom of the arm.
Step 7: The tie, pocket squares and buttons

Draw curved lines from the base of the neck to the lapel to indicate the shirt collar.
Use straight lines to draw the knot of the tie and the tie itself. Draw small rectangles for the top and bottom pockets.
Draw a curved line under the lower pocket to indicate a fold in the fabric.
Draw two small circles to form the buttons on the coat.
Step 8: The straight-leg trousers

Extend a pair of curved lines to form the leg of the pants.
Draw inward-facing "V"-shaped lines near the bottom before connecting the sides.
Draw curved lines to indicate the folds in the fabric.
Next, use curved lines to draw the hand, sleeve, and shoe.
Step 9: The left pants

Use a pair of curved lines, fixed at the bottom, to draw the rest of the pant leg.
Draw curved lines to indicate the folds in the fabric.
Use a curved line to outline the irregular shape of the boot.
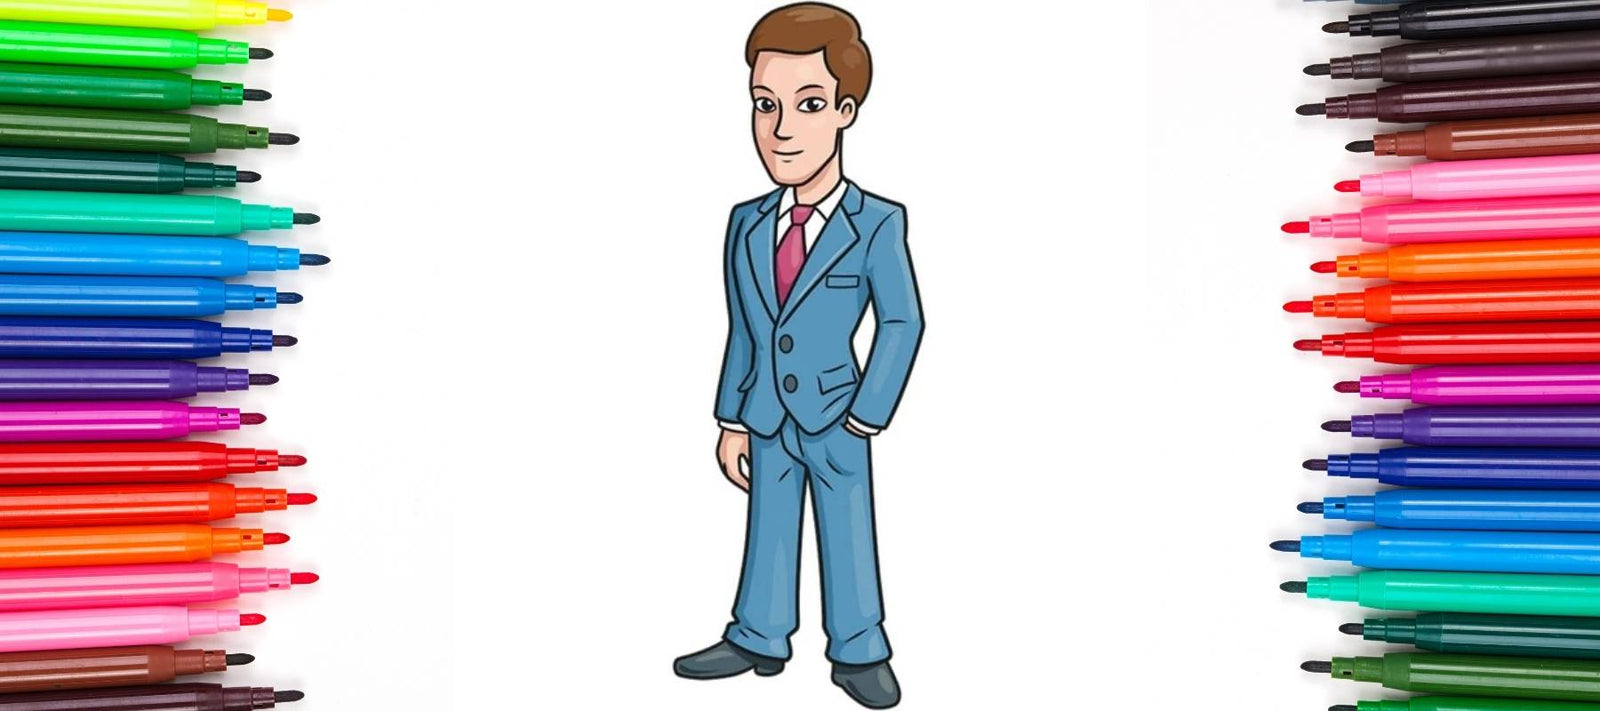
Step 10: Coloring the costume

Color in your man in a suit.
The costumes come in many colours - black, white, blue and brown are the most common.
Comments are approved before publication.